News
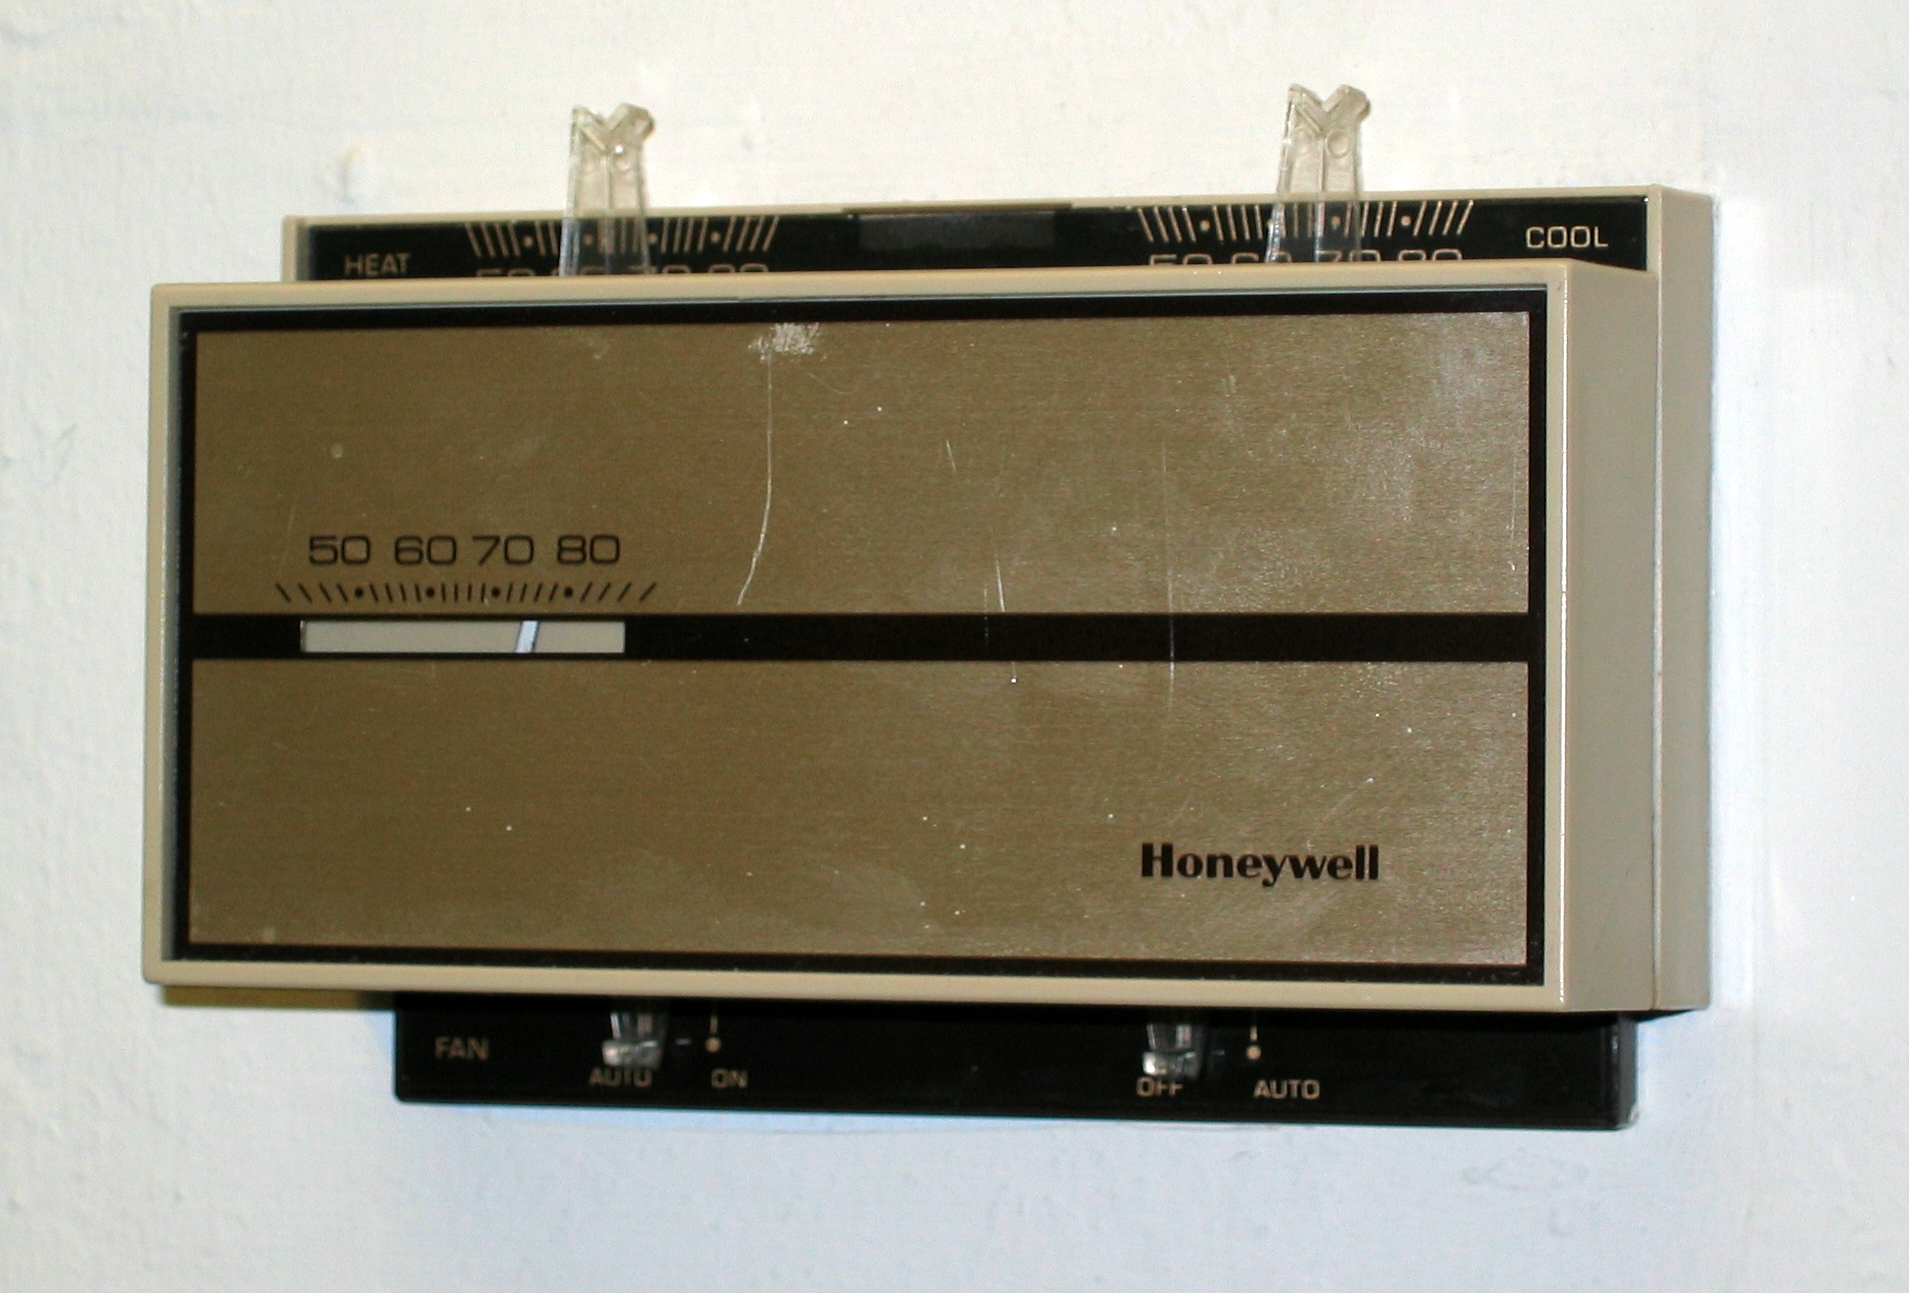
Home improvement made easy: install or replace a thermostat
![]()
TIME: 1-2 hours
![]()
COST: $30-$250
![]()
DIFFICULTY: Moderate
Your thermostat plays an important role in keeping your home comfortable and energy-efficient during Colorado’s cold winter months. If yours is getting on in years, it may be time to install a replacement. Here are some basic instructions to help you upgrade your heating and cooling system — it may be easier than you think.
- Make Sure New Thermostat is Compatible. Before purchasing a new thermostat, ensure it is compatible with your 110-volt housing circuitry, and heating and cooling systems (forced air vs. radiant heat).
- Turn off the Power. Turn off the electricity to your home thermostat at the power panel or circuit breaker box. Once you have turned off the power, put a piece of masking tape over the switch so everyone in your home knows not to turn the power back on.
- Remove Old Unit. Snap the cover off the old unit or unscrew if necessary. Carefully pull the unit away from the wall and slide it off the mounting plate. Be mindful to not damage the wires behind the plate.
- Disconnect Wiring. Carefully remove the electric power supply wiring behind the thermostat. Wrap the wires around a pencil to prevent them from falling back into the wall. If the wires are not color-coded to your new thermostat, mark each one so they correspond to the terminal they were attached to. Remove the mounting plate.
- Attach New Mounting Plate. Place the mounting plate for the new thermostat against the wall in the same spot the old mounting plate was. Pull the wires from the wall through holes in the back of the new plate and screw the plate into the wall. Use a leveler to ensure the plate is straight to the wall before tightening the mounting screws.
- Connect Wires. When connecting the wires, make sure they are connected to the proper terminals. If the wires were not color-coded, make sure to follow the labeling you created. DO NOT CROSS WIRES. If in doubt, call a professional.
- The green wire should be connected to the terminal marked “G” or the same color to operate the furnace fan blower.
- The white wire goes to the “W” marked terminal to operate the heater.
- The “Y” is for the yellow wire that connects to the air conditioner.
- Mount on Mounting Plate. Place the new thermostat unit on the mounting plate and slide it into place. Turn your power back on and check if the thermostat is working properly. Follow the manufacturer’s instructions for setting up any additional display or control settings.
Now, enjoy the comfort of your home!