News
Home improvement made easy: how to install a carbon monoxide detector

![]()
TIME: 30-45 minutes
![]()
COST: $30-$75
![]()
DIFFICULTY: Easy
When inhaled, carbon monoxide is dangerous because it relocates oxygen in the blood and limits oxygen to the heart, brain and other vital organs. Breathing carbon monoxide can lead to unconsciousness and suffocation. Carbon monoxide detectors are crucial in your home. Follow these installation steps to ensure your safety:
- Test. Push the testing button to make sure your detector works. If it does not emit a high-pitched, loud beeping, then it is not working properly.
- Check the batteries. If your detector is not working properly, first replace the batteries. You’ll need to check your batteries once every three months to ensure your detectors are working properly.
- Purchase a new detector. If the issue is not the battery, then purchase a new detector. Carbon monoxide detectors are available at most home improvement stores.
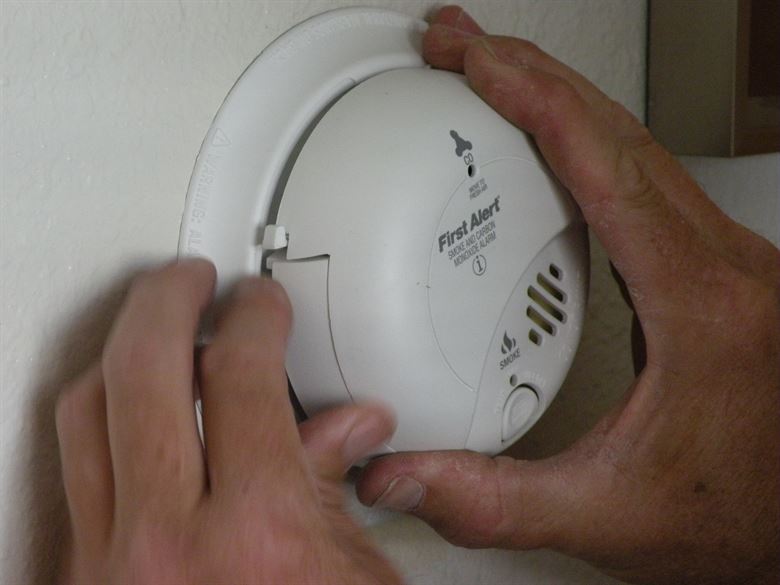
- Begin installation. Detach the new detector unit from the frame.
- Find a spot for placement. Find a place on the ceiling or on the wall to install the detector. If you choose to mount the detector on the wall, make sure the placement is 4 to 10 inches from the ceiling. Install away from air ducts.
- Mount. Mark spots with a pencil where the screws will go. Then, use a drill to make holes for the screws. Place the mount and secure with screws. Once the mount is secure, attach the detector to the frame.
- Test again. Push the testing button to make sure the detector works. Once you hear the beep, your detector is working and ready to protect you from harmful carbon monoxide. You did it!